This week I’m excited to particpate in Diane Gilleland’s Halloween EPP blog hop.
Diane told us that any Halloween EPP project was fine. I’ve been working with diamonds, hexagons, pentagons and triangles lately so I wanted to try something different.
I noticed a spider web design in Chapter 3, Building Your Own EPP Patterns, and thought that looked interesting. The center was an octagon, which was a shape I had not worked with before and the block was simply divided into eight sections based on the edges of the center octagon. Each of the eight sections was then divided horizontally into two bands. As I wanted to use a lot of my Halloween fabric, I wanted more than two bands in each section, but that type of edit was easy to do.
I opened up EQ7 and did a search in the block libraries for spider blocks. I received 5 hits; Spiderweb Maltese 4 was the closest to what I wanted. However, the lines from the edges of the block extended all the way to the center, and I wanted one open octagon shape in the center.
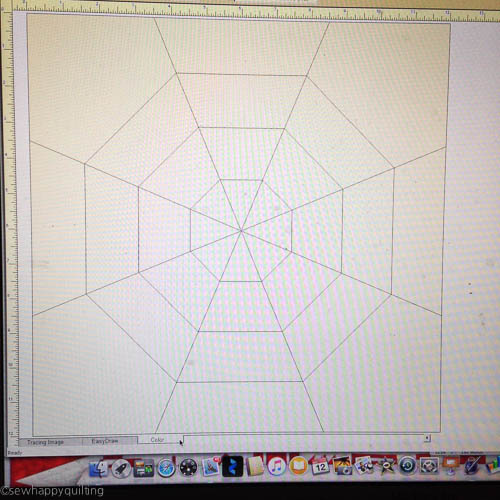
Halloween EPP EQ7 -1
Fortunately it was a quick and easy adjustment. I simply selected and deleted each of the eight lines in the center to reveal an open octagon shape in the center.
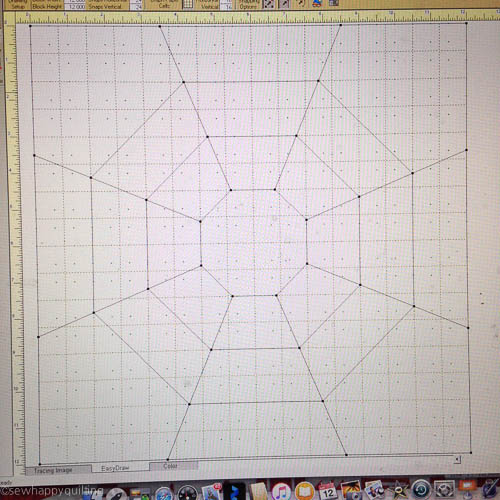
Halloween EPP EQ7 -2
Finally, I drew lines across each of the four corners to divide it so that the band was the same size as the others leaving a triangle shape in each corner.
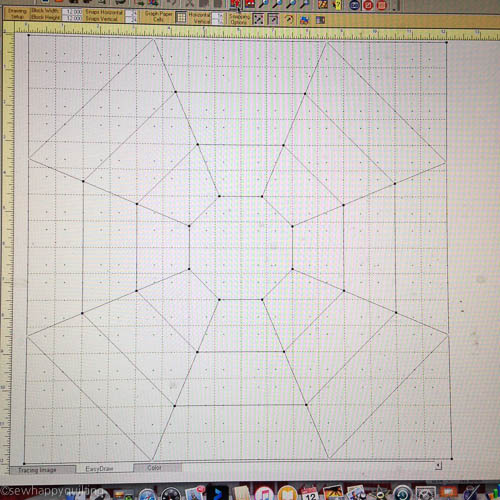
Halloween EPP EQ7 -3
I printed out templates for a 16″ square block onto several sheets of card stock and glue basted my fabrics to the pieces. I know many people like to thread baste, but I find that glue basting is easy and quick. I used the ladder stitch to sew my pieces together, which takes a bit longer than the everyday whip stitch, butI think using a ladder stitch holds the pieces together more securely and that my stitches are less likely to show on the right side.
I started by stitching a band of black, orange and alternating green and purple to create 8 separate sections.
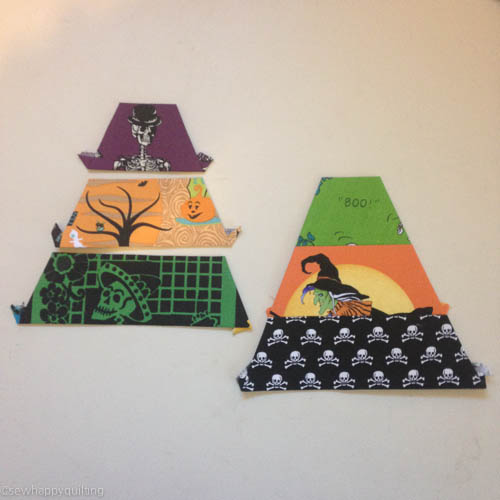
Stitching the bands into 8 sections
Most of this was done on the train to and from work. That is one of the things I like best about EPP; I can carry small parts of a project with me and stitch a piece or two together whenever I have a few minutes. Then I stitched each section to one side of the central octagon.
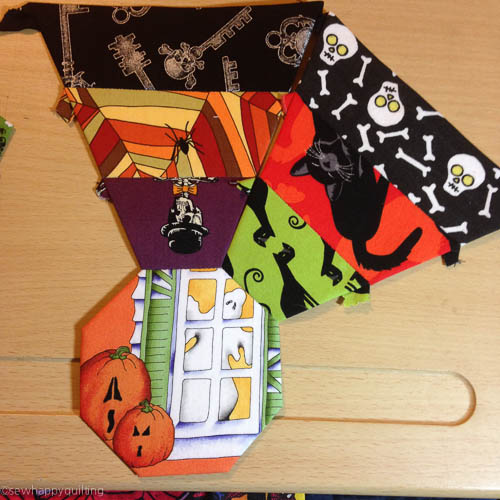
Stitching the bands to center octagon
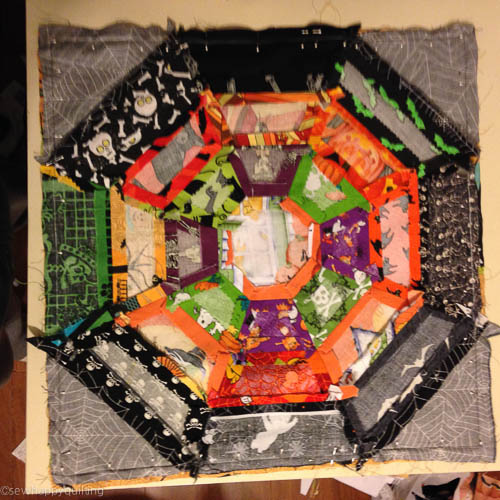
Next, I stitched each section together from the center out to the edge of the block.
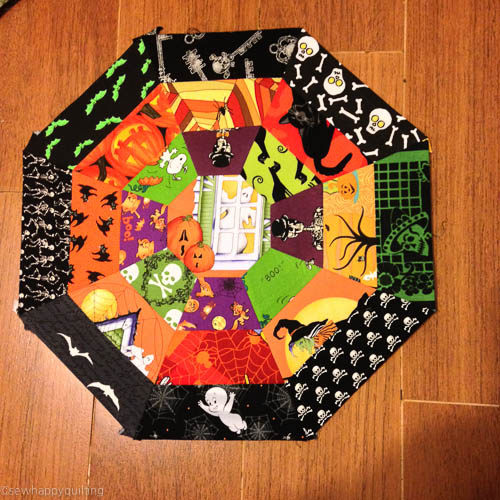
8 sections stitched to center octagon
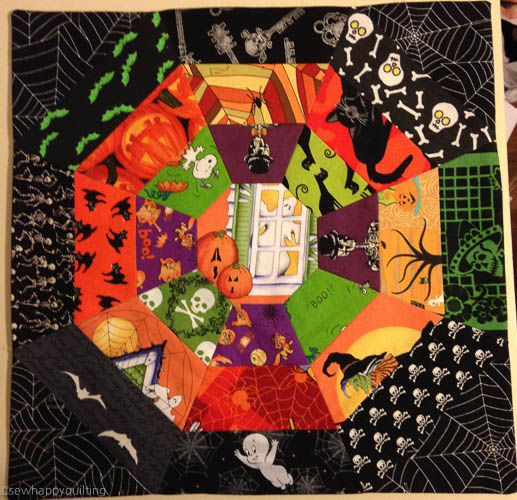
Finally, I added the four corner triangles done all in the same spider web fabric.
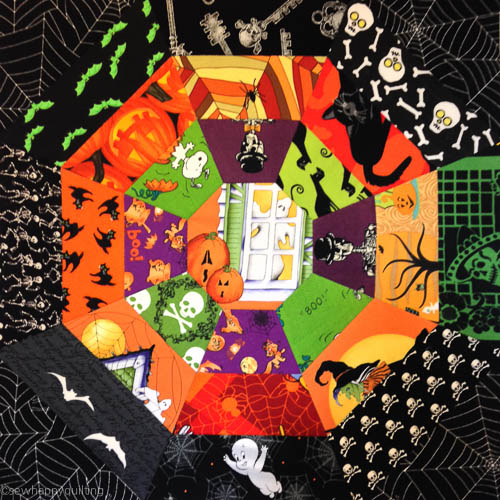
Pillow top completed
I then removed all the paper pieces from the pillow front, being careful to mark my stitching lines on the wrong side of the fabric 1/2 ” in from the four sides of the block. I pressed it with a dry iron and then prepared the pieces for the back of the pillow. My pillow form was 16″ square so I cut two backing pieces, one 17″ by 12″ and the other 17″ by 8″. I pressed under 1/2″ on one edge of each piece, then pressed under 1/2″ again and top stitched along the edge of each.
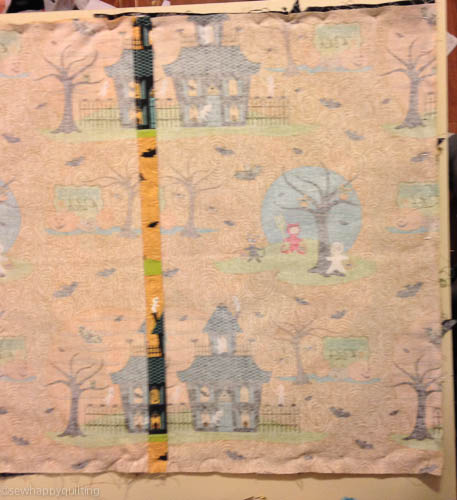
Pillow back pieces
I then laid the pillow back right side up, placed the pieced pillow top right side down on top of it and pinned them together on all sides.
Pillow front and back pieces pinned together
I stitched 1/2″ around on all four sides. No need to leave an opening as the hemmed edges of the two separate back pieces provide an opening so that I can remove the pillow for cleaning. I clipped the corners, pressed the seams open, and turned the pillow cover right sides out.
Pillow front and back pieces stitched together
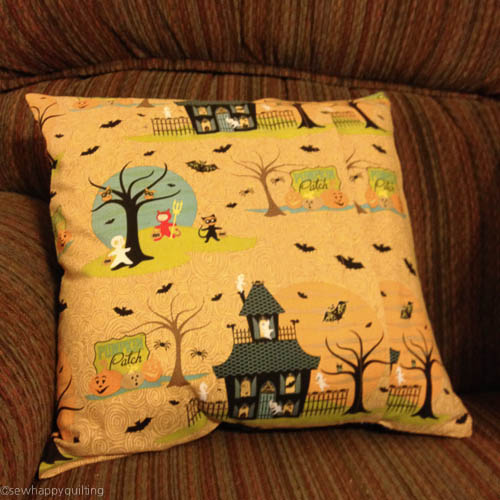
Last, I inserted the 16″ pillow form, fluffed it up a bit and placed it on my sofa to admire!
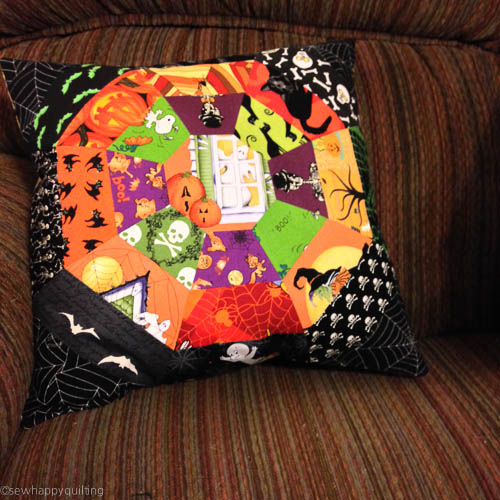
Finished pillow -front view
Finished pillow -back view
I’m really pleased with the way this turned out. I am already thinking of making a Christmas version. I was careful when I removed my card stock paper pieces so I can easily reuse them. And since I worked from a block in EQ7 and saved my changes to the sketchbook, I can print as many as I need even if I don’t want to reuse them. I could even reduce the block size and make enough for a matching quilt. The possibilities are endless! And since EPP is so portable, I can carry a project like this with me everywhere and stitch a little here and there when I find some time. I only spent a few minutes sitting at the sewing machine to make this pillow.
Hope this inspires you to check out Diane’s book,
All Points Patchwork, and try an EPP project of your own. Also, check out what the other Halloween Blog Hop participants are making – lots of fabulous EPP!


I love how that turned out!
LikeLiked by 1 person
Thanks, Kathy, I really love the Halloween fabrics!
LikeLike
So Awesome!! Love this! I don’t have EQ7 so I will have to see what if I can draw this out by hand. My sister loves Halloween and every year I make her a special s
LikeLike
Thats wonderful. There are so many seasonel/holiday possibilities for this block
LikeLike
Gorgeous Halloween pillow. I think EPP is the best on-the-go stitching. I might just make this as a Halloween table topper. Thank you.
LikeLike
Thanks Amanda I’m glad you like it and I agree, it will make a very nice table topper
LikeLike